Author Notes
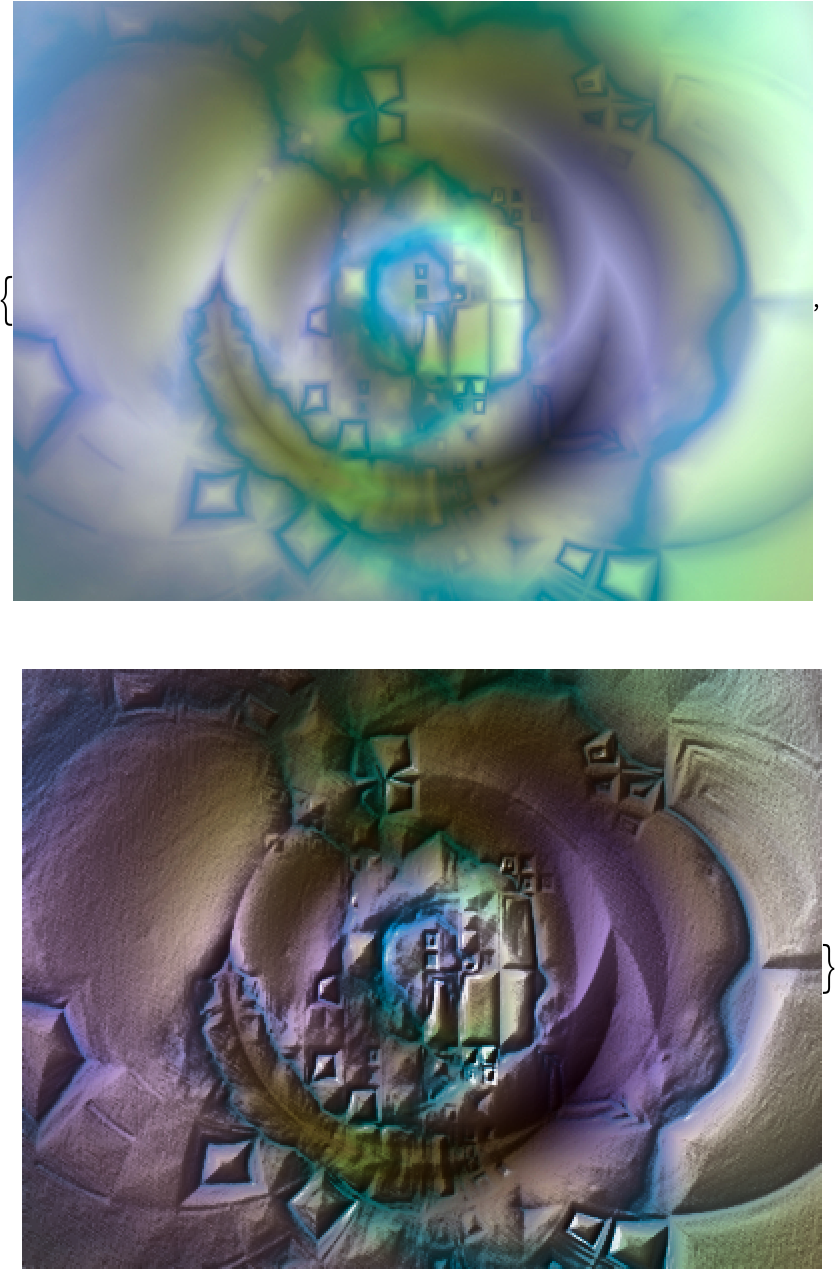
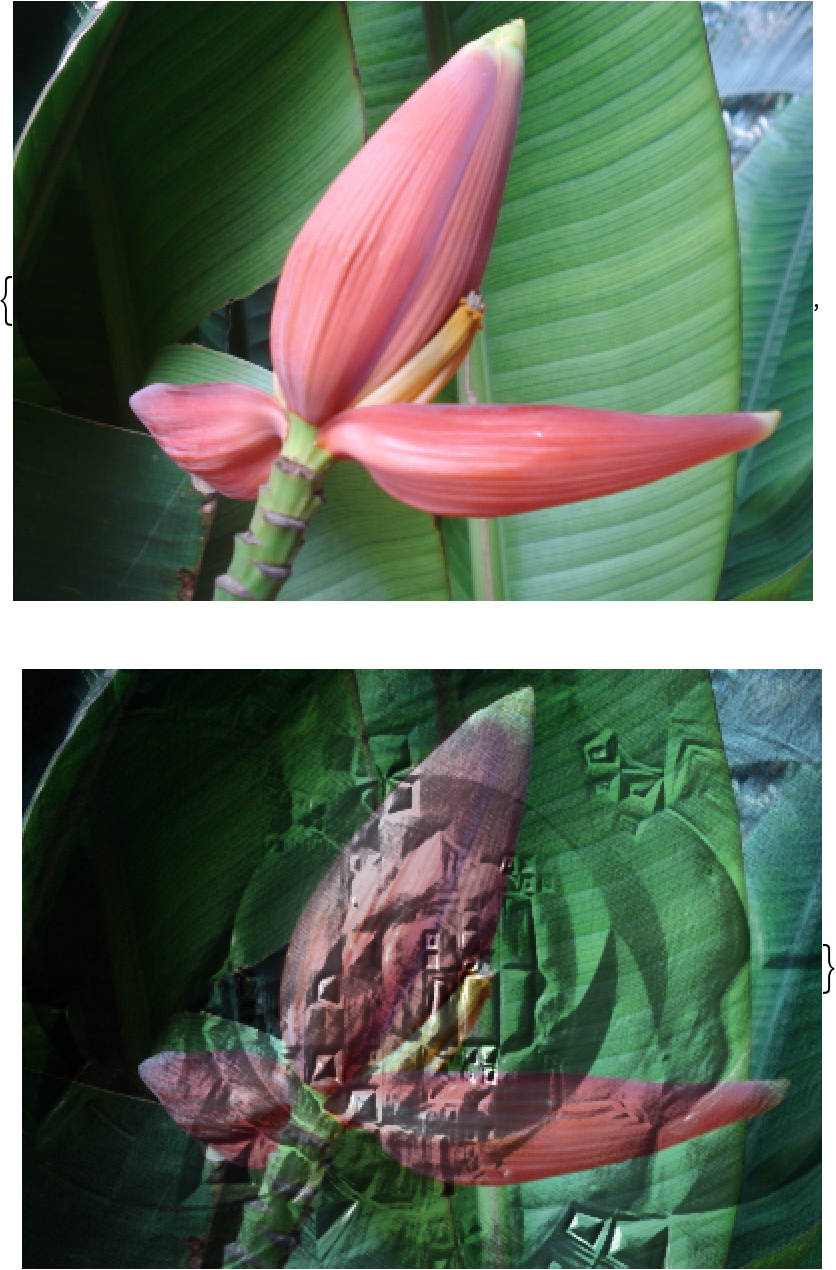
A similar but simpler effect to
ImageRayTraceBump[img] can be achieved with the built-in symbol
ImageEffect[img,{"Embossing",x,a}]. A function in the Wolfram Function Repository called
ImageBump also provides similar functionality through filtering. The ray tracing of
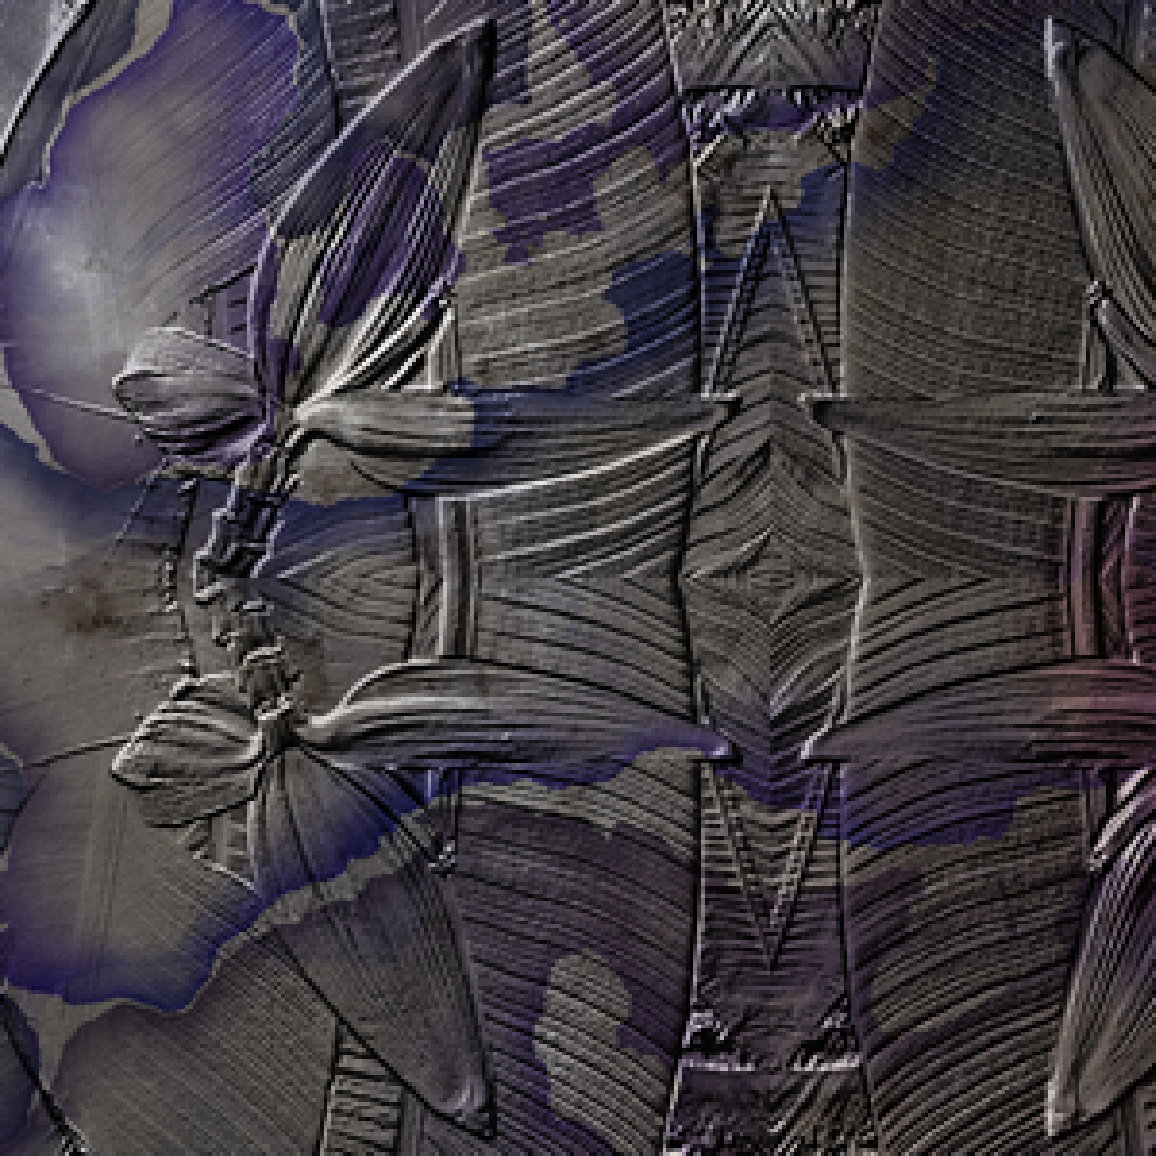
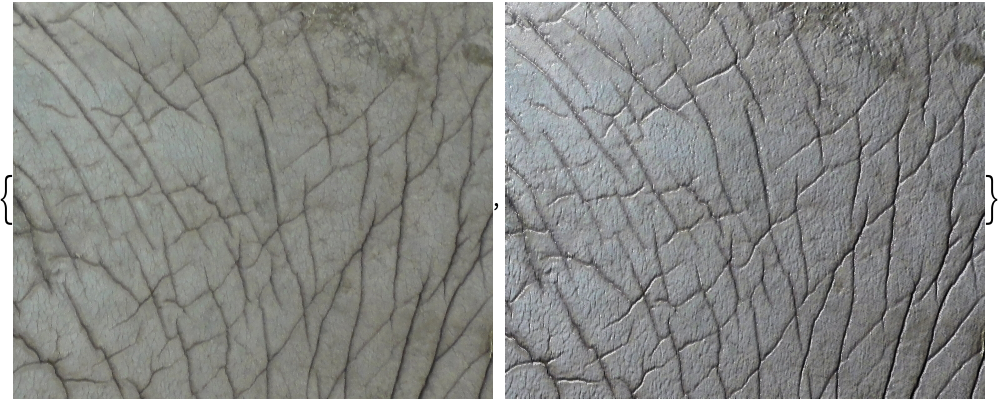
ImageRayTraceBump allows for more control of the finished image and the addition of specular highlights.
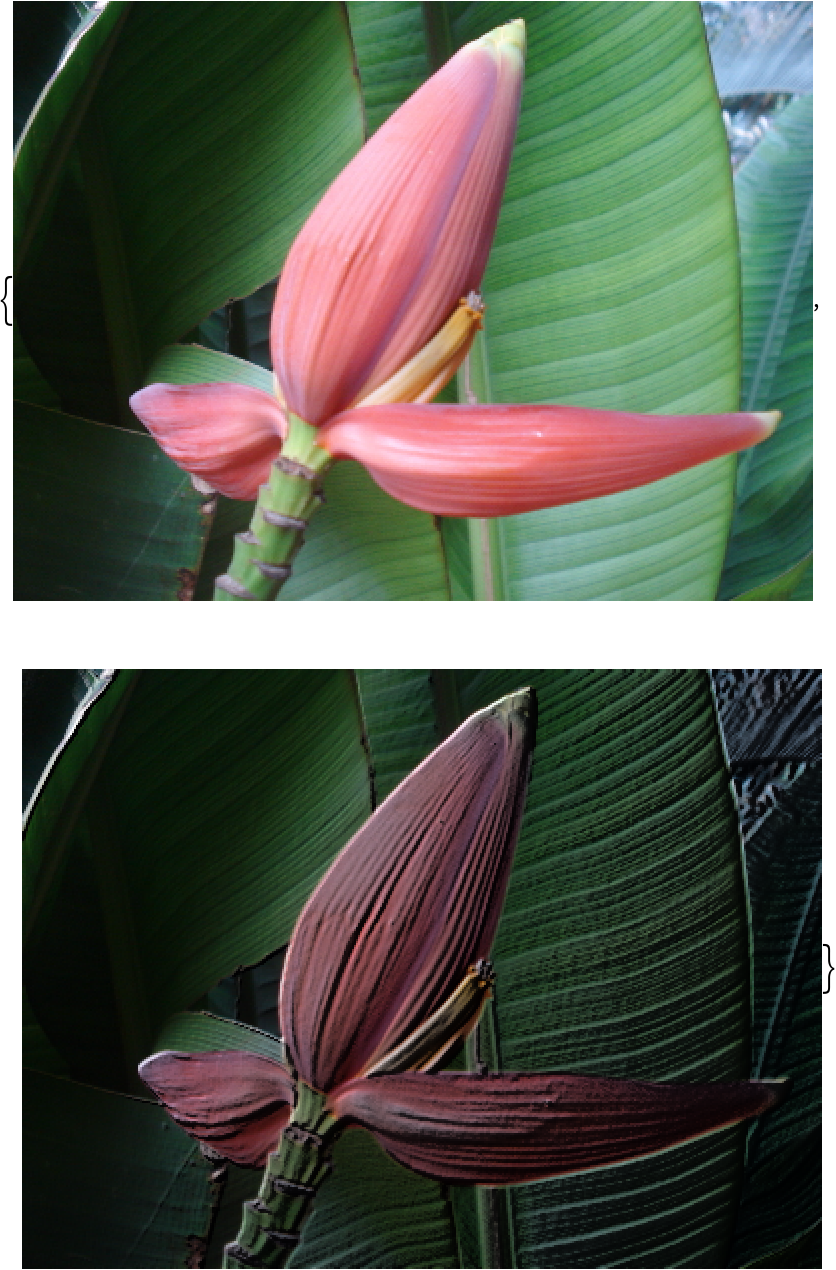
ImageRayTraceBump tends to darken some images, so post-processing might be needed to achieve the desired output.
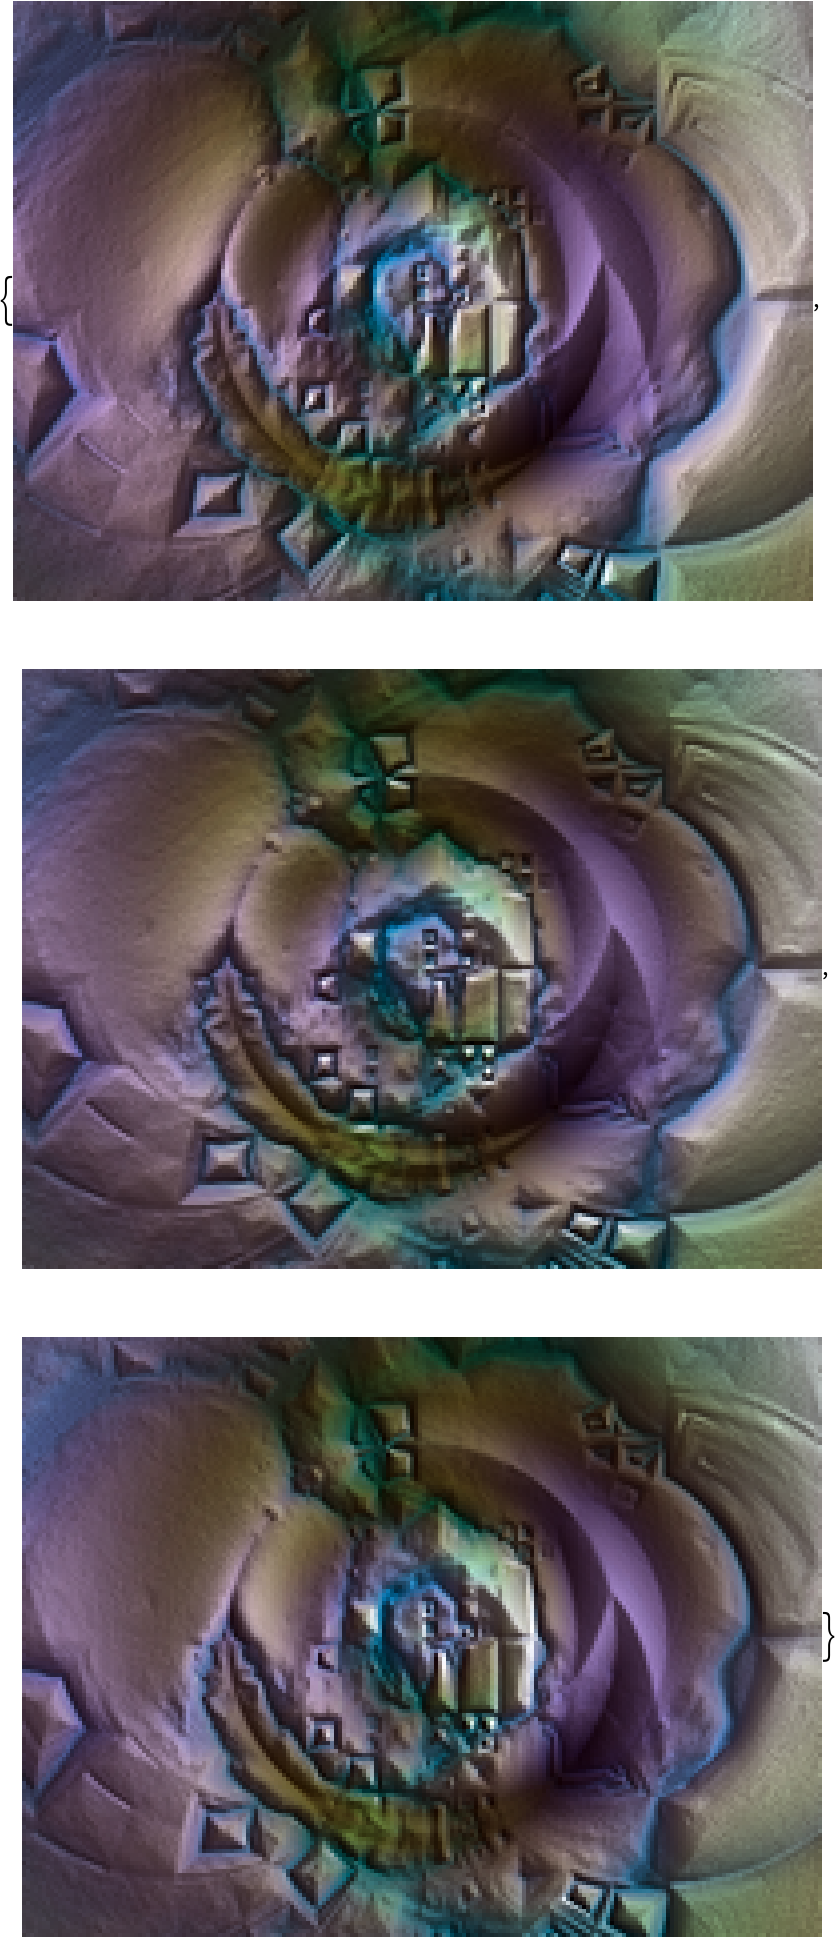
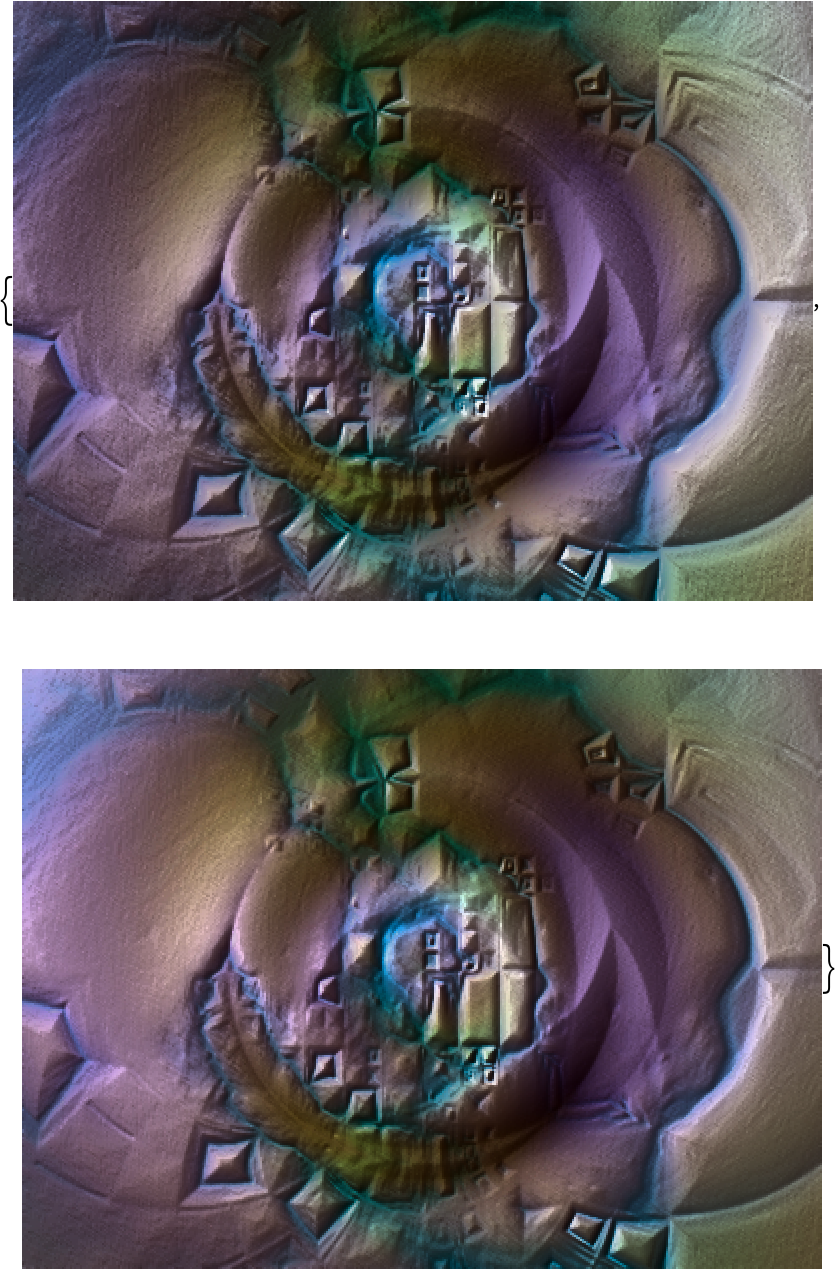
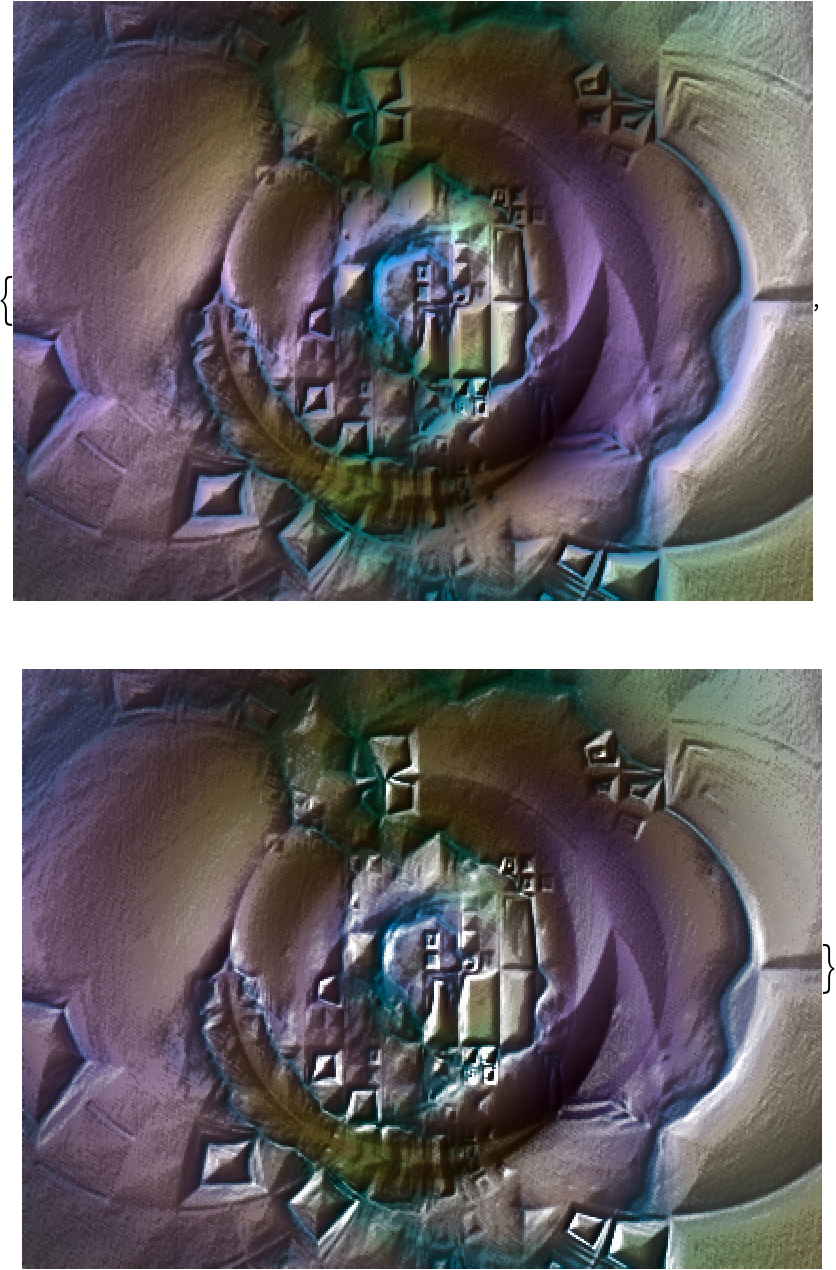
The output of ImageRayTraceBump can be grainy at times. If this happens, try enlarging img first, then applying ImageRayTraceBump, and finally shrinking the output back to original size.
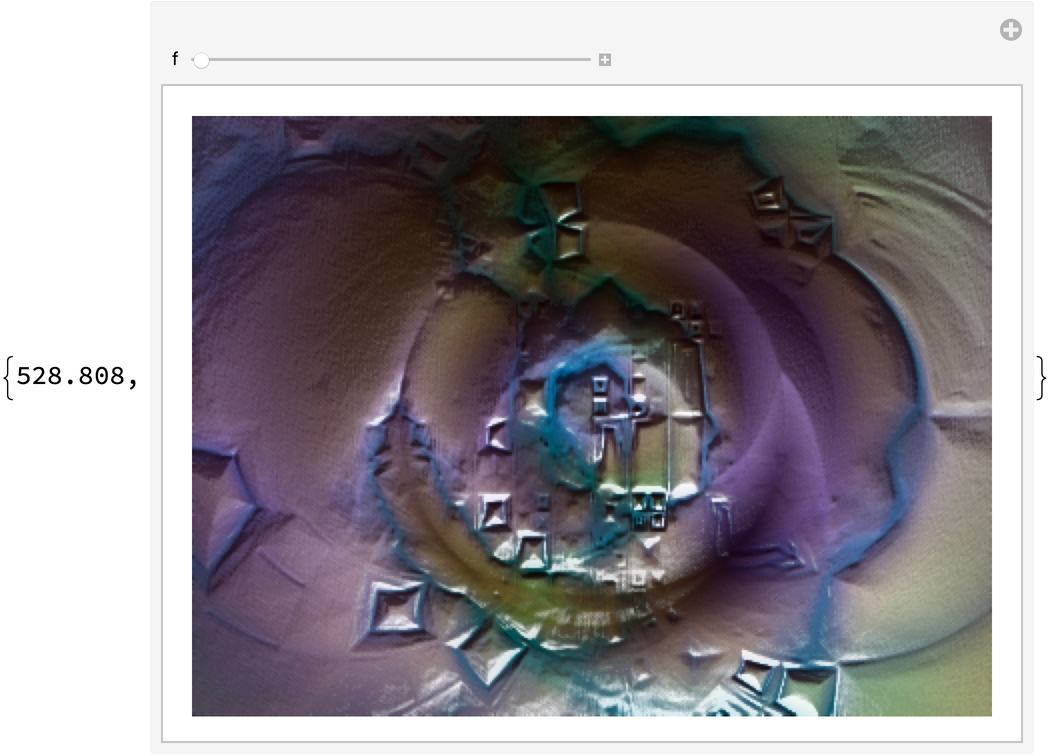
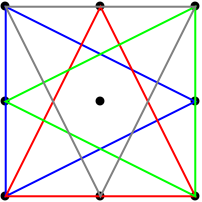
A reflection point exists halfway between the (x,y)-coordinates of the light and the center of the image. If the light is too close to the image, a glare will wash out part of the bump effect and distort the colors. The solution to this is to move the light further from {0,0} in the image plane.
Ray tracing is slow; be patient. ImageRayTraceBump does work on larger images. I tested it on images up to 10,000 pixels square, and it works as expected. However, larger images can take several hours to render.
Ray tracing is a technique used in other visual effects not included in ImageRayTraceBump. Refraction, reflection, and radiosity pertain more to scenes with multiple 3D objects. Self-shadowing and ambient occlusion could possibly be added to the effects simulated in ImageRayTraceBump. They would slow down the function considerably and add only slight benefit.
![(* Evaluate this cell to get the example input *) CloudGet["https://www.wolframcloud.com/obj/02f6cf79-7001-4017-a6d2-cf7d97fc8618"]](https://www.wolframcloud.com/obj/resourcesystem/images/c7d/c7d5d452-f345-44a7-ae69-c12cf38ace6e/1-0-0/43747a1fa5416632.png)
![(* Evaluate this cell to get the example input *) CloudGet["https://www.wolframcloud.com/obj/e72fa38b-69af-4188-a536-9b2bfa3c149d"]](https://www.wolframcloud.com/obj/resourcesystem/images/c7d/c7d5d452-f345-44a7-ae69-c12cf38ace6e/1-0-0/420866ba95fdca68.png)
![(* Evaluate this cell to get the example input *) CloudGet["https://www.wolframcloud.com/obj/908de4b9-1c06-498a-9d71-67f61354cba1"]](https://www.wolframcloud.com/obj/resourcesystem/images/c7d/c7d5d452-f345-44a7-ae69-c12cf38ace6e/1-0-0/7ae256a94554ac77.png)
![(* Evaluate this cell to get the example input *) CloudGet["https://www.wolframcloud.com/obj/e5d561e1-7461-4340-aa7a-a07036fa06e8"]](https://www.wolframcloud.com/obj/resourcesystem/images/c7d/c7d5d452-f345-44a7-ae69-c12cf38ace6e/1-0-0/67c3b3715ccb3b91.png)

![(* Evaluate this cell to get the example input *) CloudGet["https://www.wolframcloud.com/obj/c1a08eac-bcba-4a05-a036-6bf862313093"]](https://www.wolframcloud.com/obj/resourcesystem/images/c7d/c7d5d452-f345-44a7-ae69-c12cf38ace6e/1-0-0/61d76ad6c327b71f.png)

![(* Evaluate this cell to get the example input *) CloudGet["https://www.wolframcloud.com/obj/268b068b-be08-461d-aa6d-fb948a9b46cf"]](https://www.wolframcloud.com/obj/resourcesystem/images/c7d/c7d5d452-f345-44a7-ae69-c12cf38ace6e/1-0-0/396a3411348d90eb.png)
![(* Evaluate this cell to get the example input *) CloudGet["https://www.wolframcloud.com/obj/466c4d83-ce90-4047-b2d3-c6a213e55477"]](https://www.wolframcloud.com/obj/resourcesystem/images/c7d/c7d5d452-f345-44a7-ae69-c12cf38ace6e/1-0-0/0e0fa8d988109be4.png)
![(* Evaluate this cell to get the example input *) CloudGet["https://www.wolframcloud.com/obj/c6c59cba-9ec5-42ac-8c4b-64b9324af453"]](https://www.wolframcloud.com/obj/resourcesystem/images/c7d/c7d5d452-f345-44a7-ae69-c12cf38ace6e/1-0-0/6ad22d7579aa7f51.png)
![(* Evaluate this cell to get the example input *) CloudGet["https://www.wolframcloud.com/obj/673d5d9a-9fe8-4bb0-8498-d5f1c3179dfc"]](https://www.wolframcloud.com/obj/resourcesystem/images/c7d/c7d5d452-f345-44a7-ae69-c12cf38ace6e/1-0-0/536468fc5c97a19a.png)
![(* Evaluate this cell to get the example input *) CloudGet["https://www.wolframcloud.com/obj/46c2a811-3ad1-4dd2-b47d-a035e2fb661a"]](https://www.wolframcloud.com/obj/resourcesystem/images/c7d/c7d5d452-f345-44a7-ae69-c12cf38ace6e/1-0-0/4f23b4ac09d86208.png)
![(* Evaluate this cell to get the example input *) CloudGet["https://www.wolframcloud.com/obj/2ae434cd-9c41-42e5-9007-12a6f89b643b"]](https://www.wolframcloud.com/obj/resourcesystem/images/c7d/c7d5d452-f345-44a7-ae69-c12cf38ace6e/1-0-0/407e6fc7d87f929b.png)
![(* Evaluate this cell to get the example input *) CloudGet["https://www.wolframcloud.com/obj/e25bd2ed-4d50-455c-9180-b5f2b2099814"]](https://www.wolframcloud.com/obj/resourcesystem/images/c7d/c7d5d452-f345-44a7-ae69-c12cf38ace6e/1-0-0/0cb491485595a273.png)
