Wolfram Function Repository
Instant-use add-on functions for the Wolfram Language
Function Repository Resource:
Open an interface for entering and interactively solving given or generated sudoku and suguru puzzles
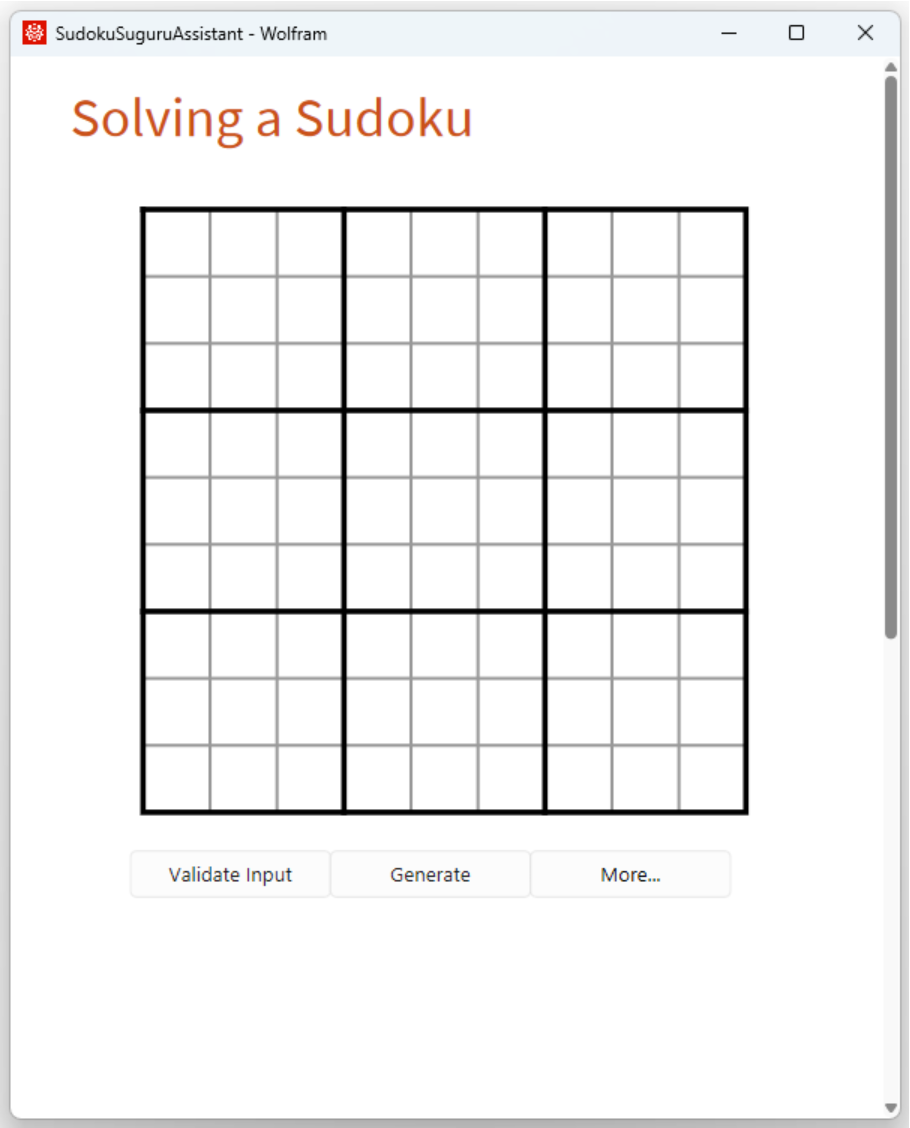
ResourceFunction["SudokuSuguruAssistant"][] opens an interface for interactively entering and solving a standard sudoku puzzle. | |
ResourceFunction["SudokuSuguruAssistant"][{r,c}] opens an interface for a suguru puzzle with r rows and c columns. | |
ResourceFunction["SudokuSuguruAssistant"][type] opens an interface for a single sudoku puzzle of the specified type. | |
ResourceFunction["SudokuSuguruAssistant"][{loc1,type1},{loc2,type2},…] opens an interface for a multi-sudoku puzzle. | |
ResourceFunction["SudokuSuguruAssistant"][str] opens an interface for a puzzle specified by data in the string str. |
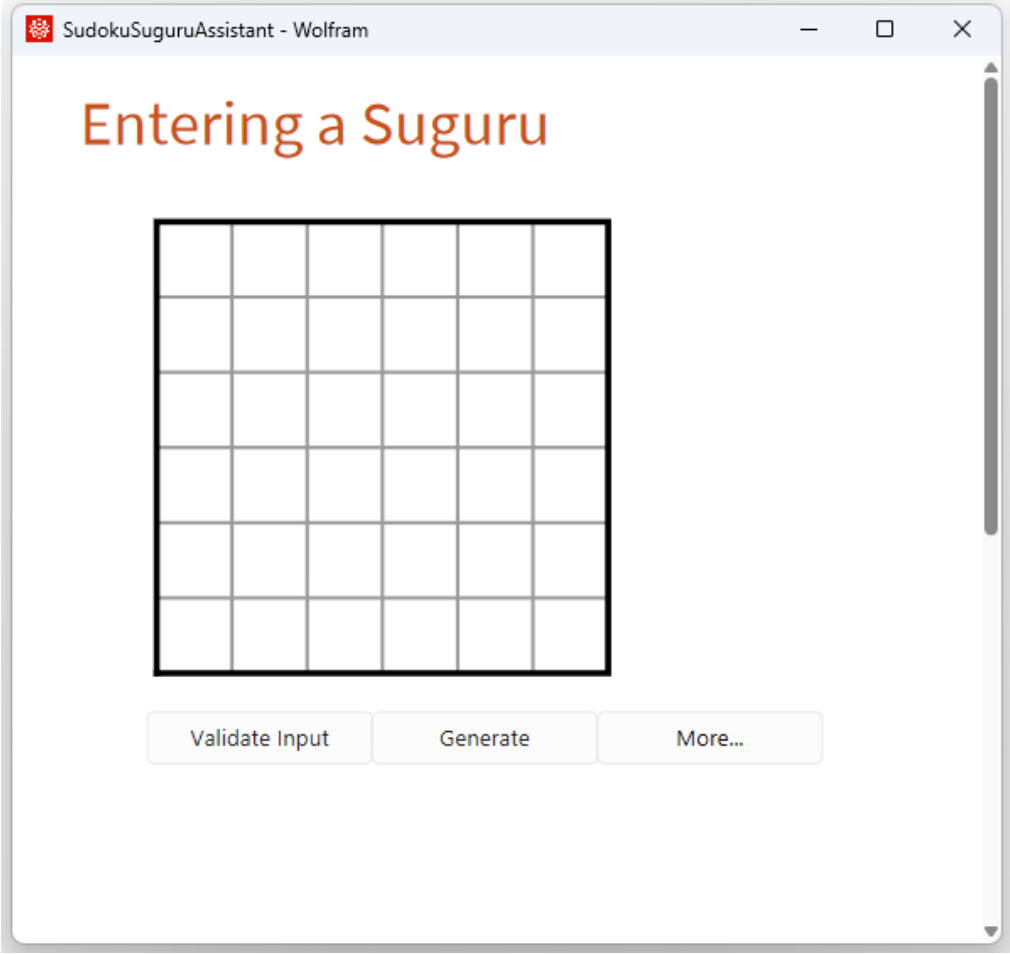
This opens an interface for entering and solving a 6x6 suguru:
| In[1]:= |
| Out[1]= |
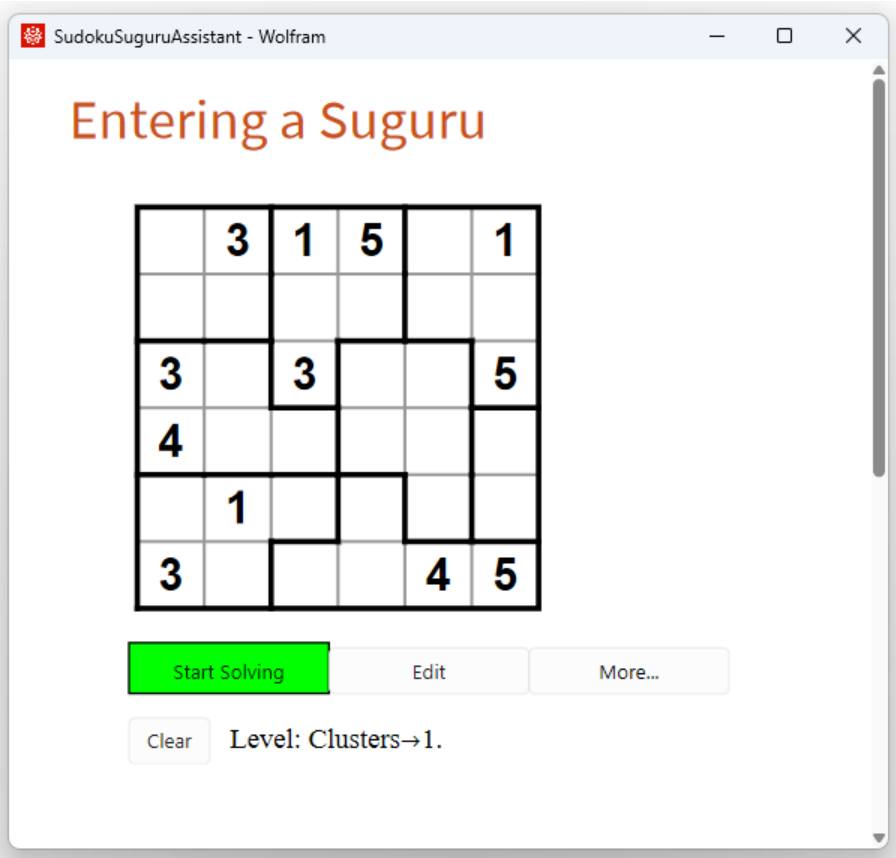
If you have a puzzle at hand, click the cell borders to draw the regions, enter the clues, and press Validate Input to obtain:
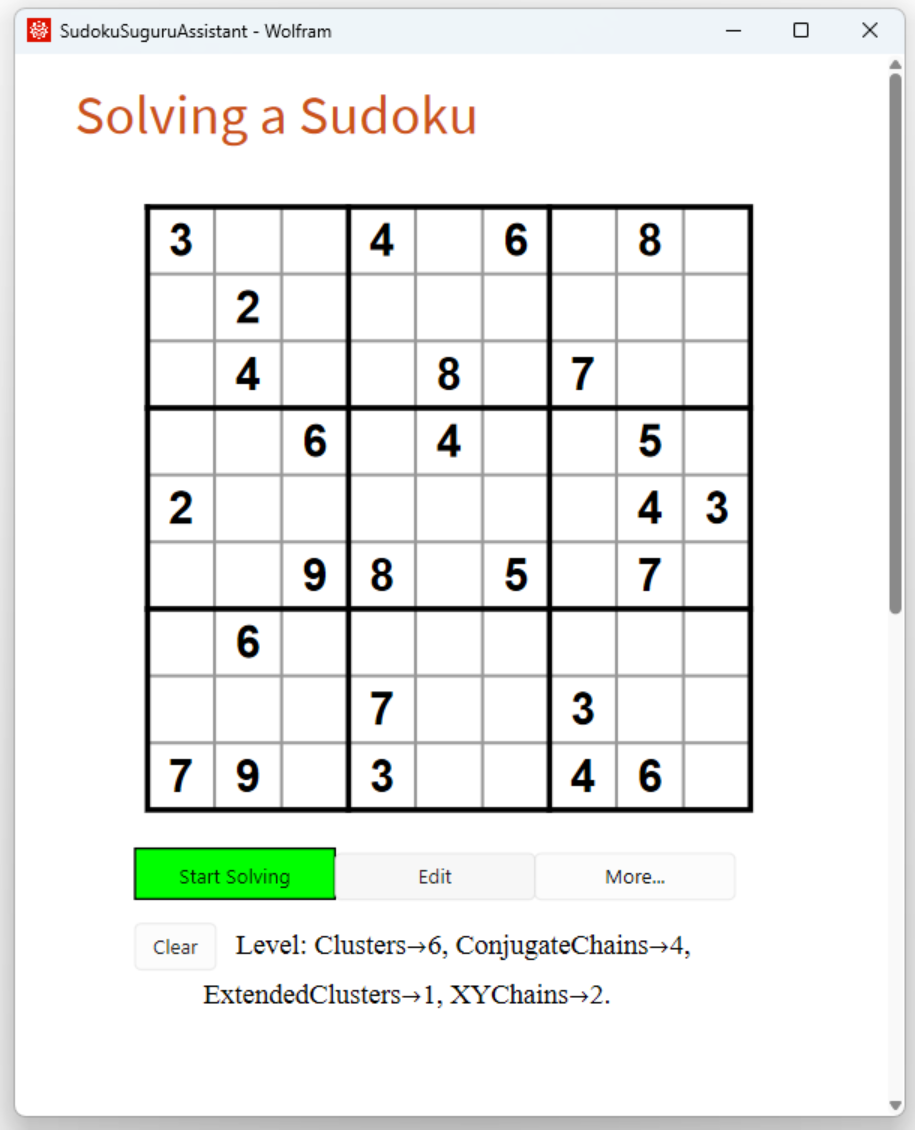
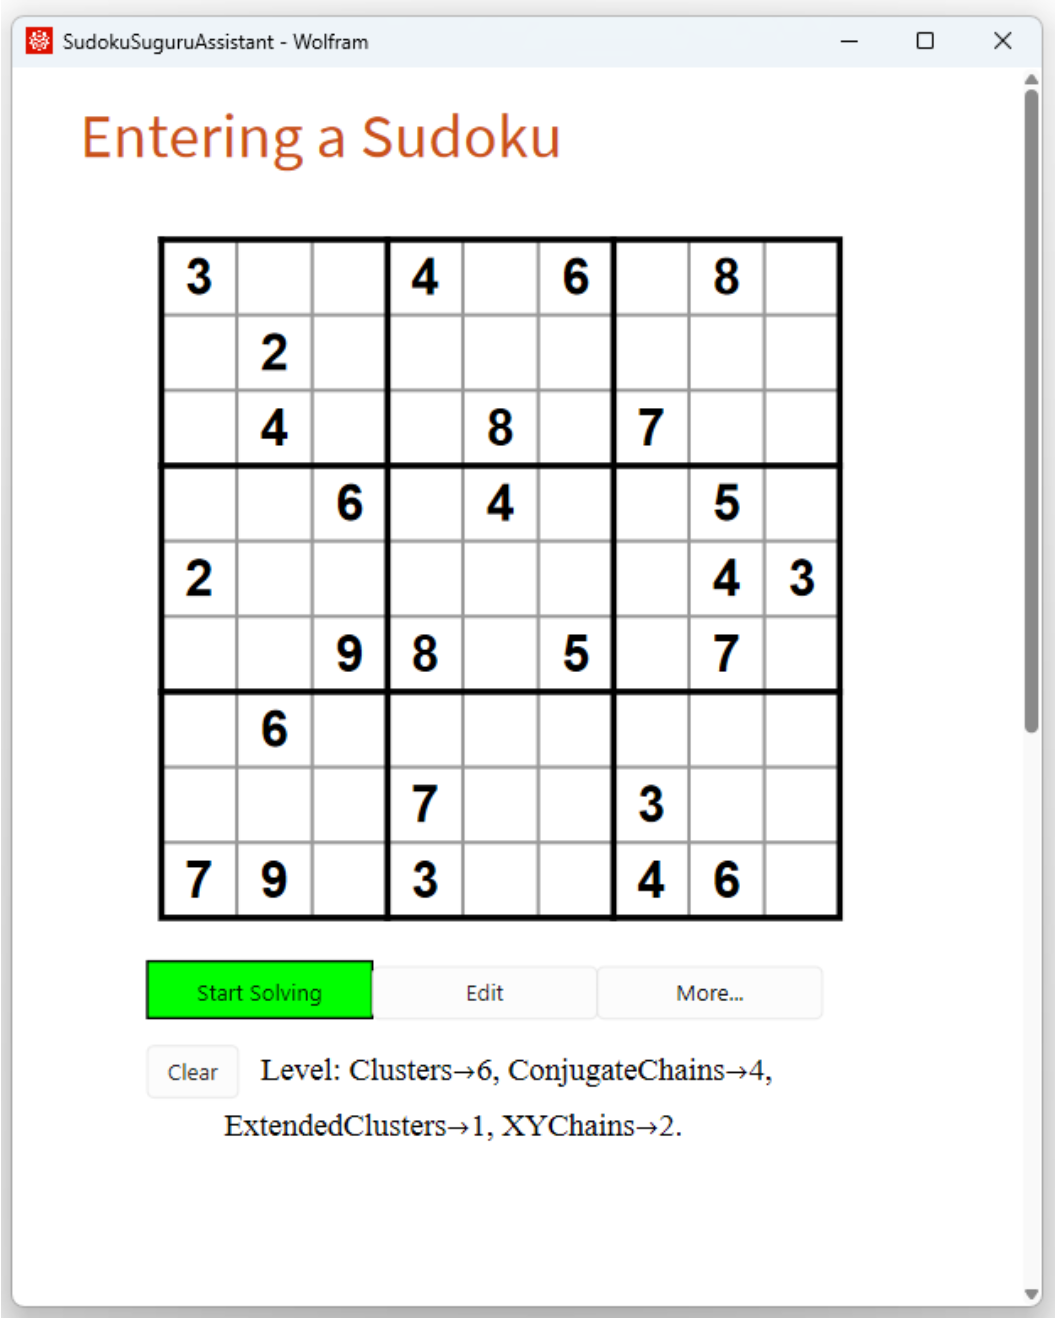
Instead of entering a given puzzle manually, you can press Generate. The result will be something like:
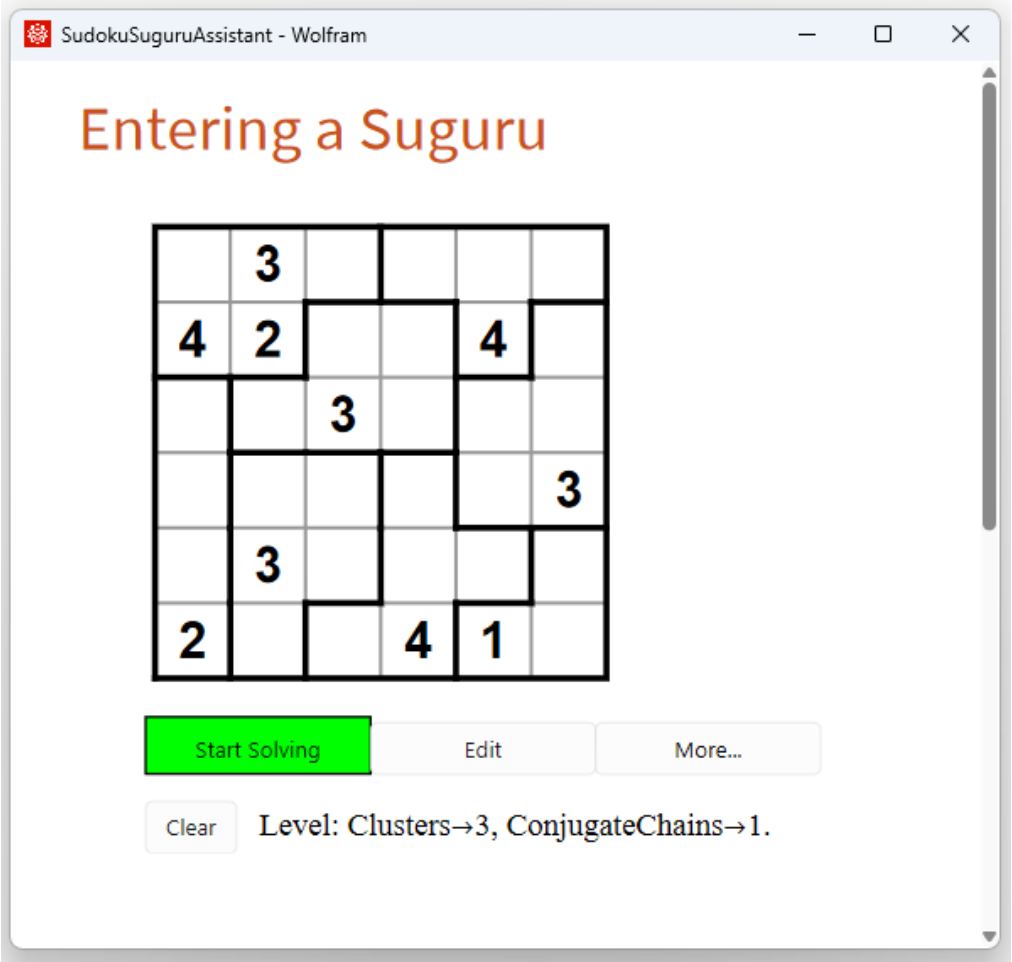
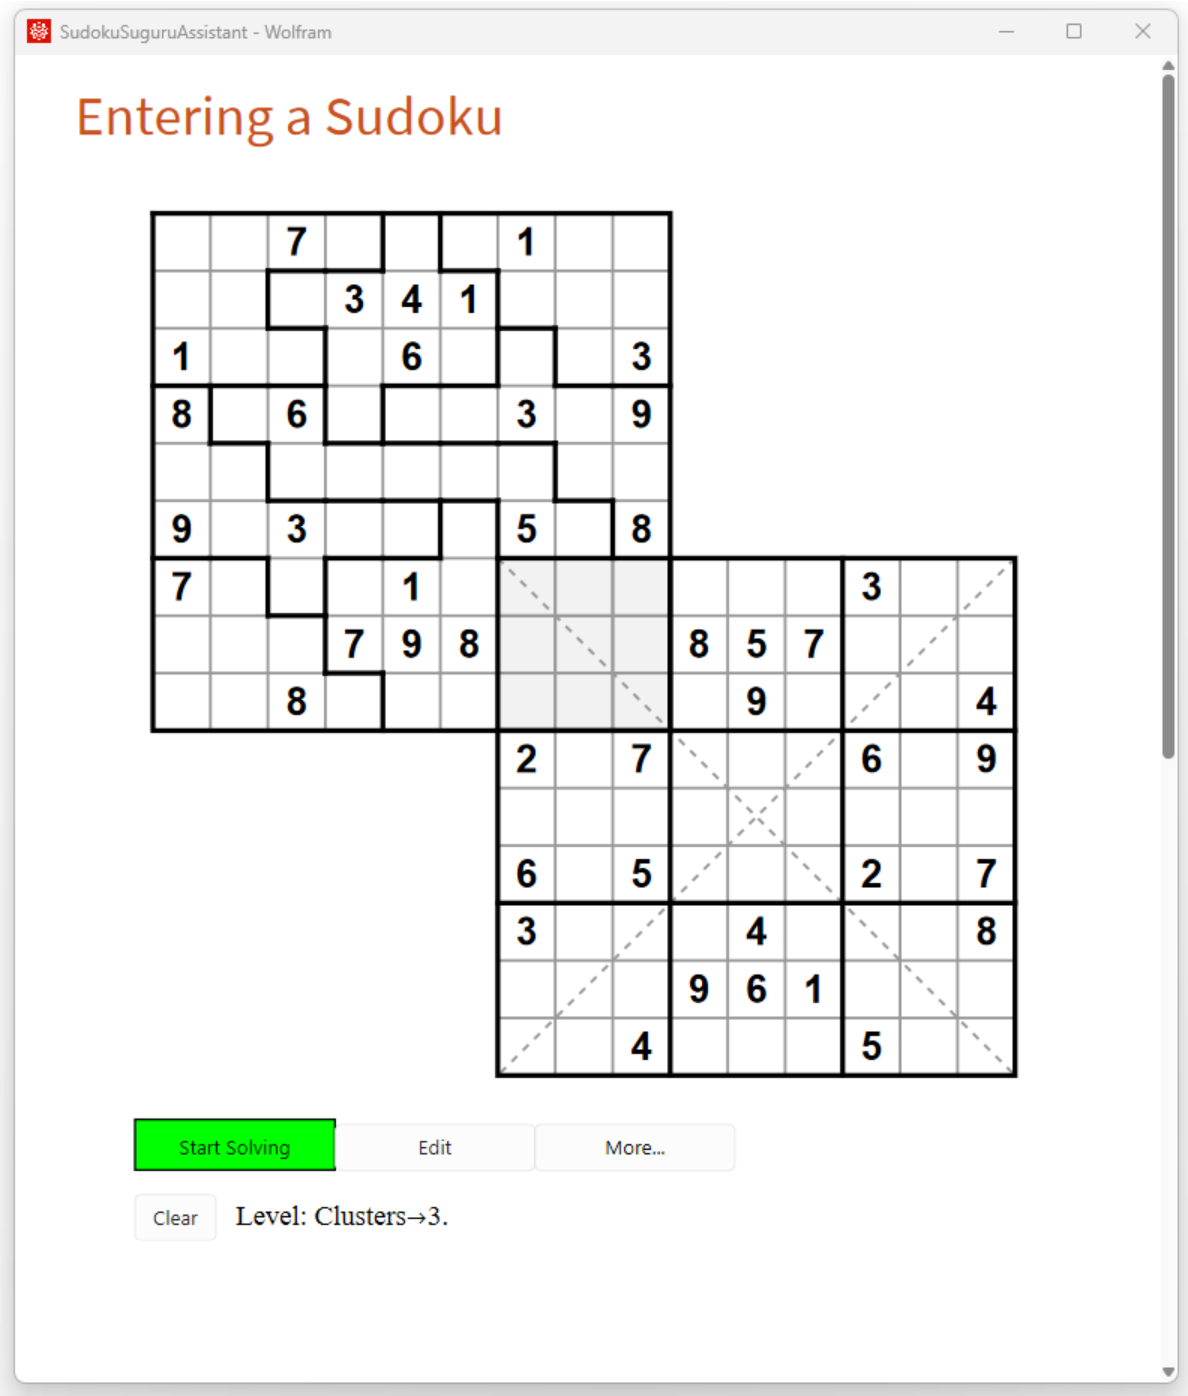
The assistant needed the logical rule clusters three times and conjugate chains once to solve this puzzle. If you are looking for a simpler or more difficult puzzle, you can press Edit and then Generate again.
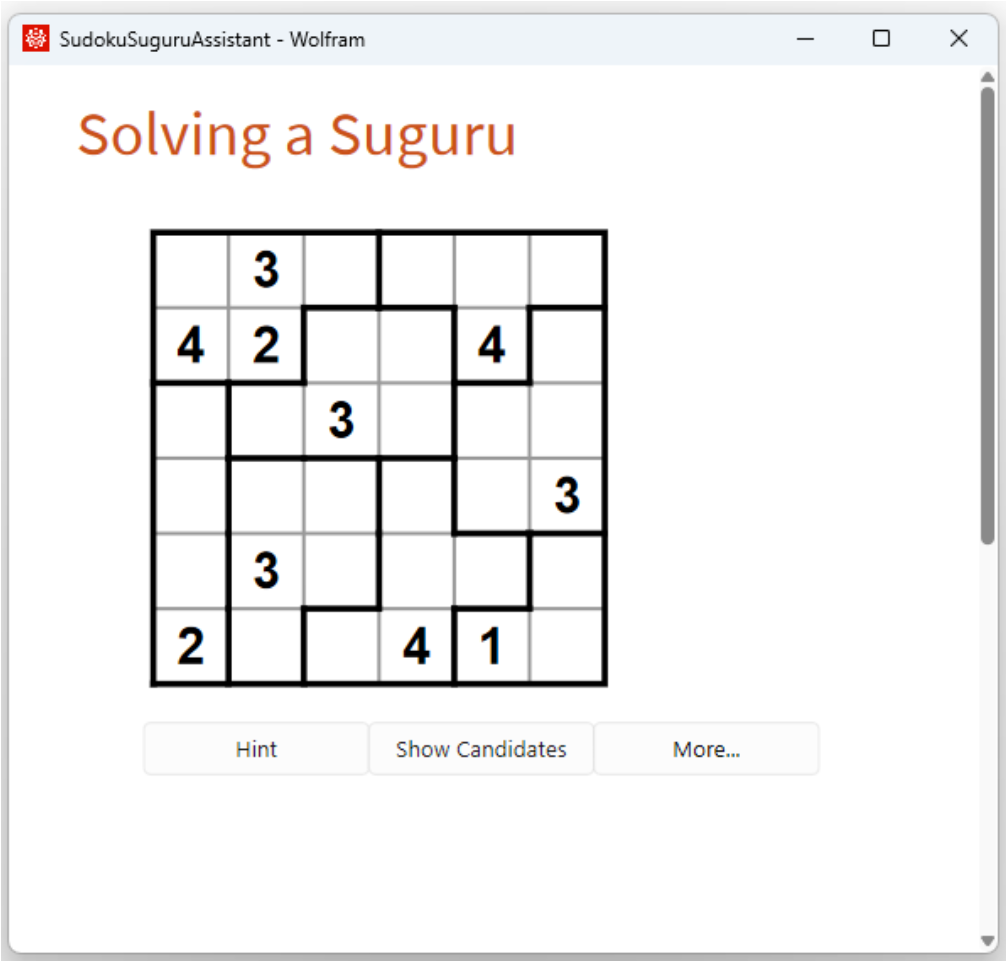
Pressing Start Solving results in:
Press ShowCandidates to inspect the candidates:
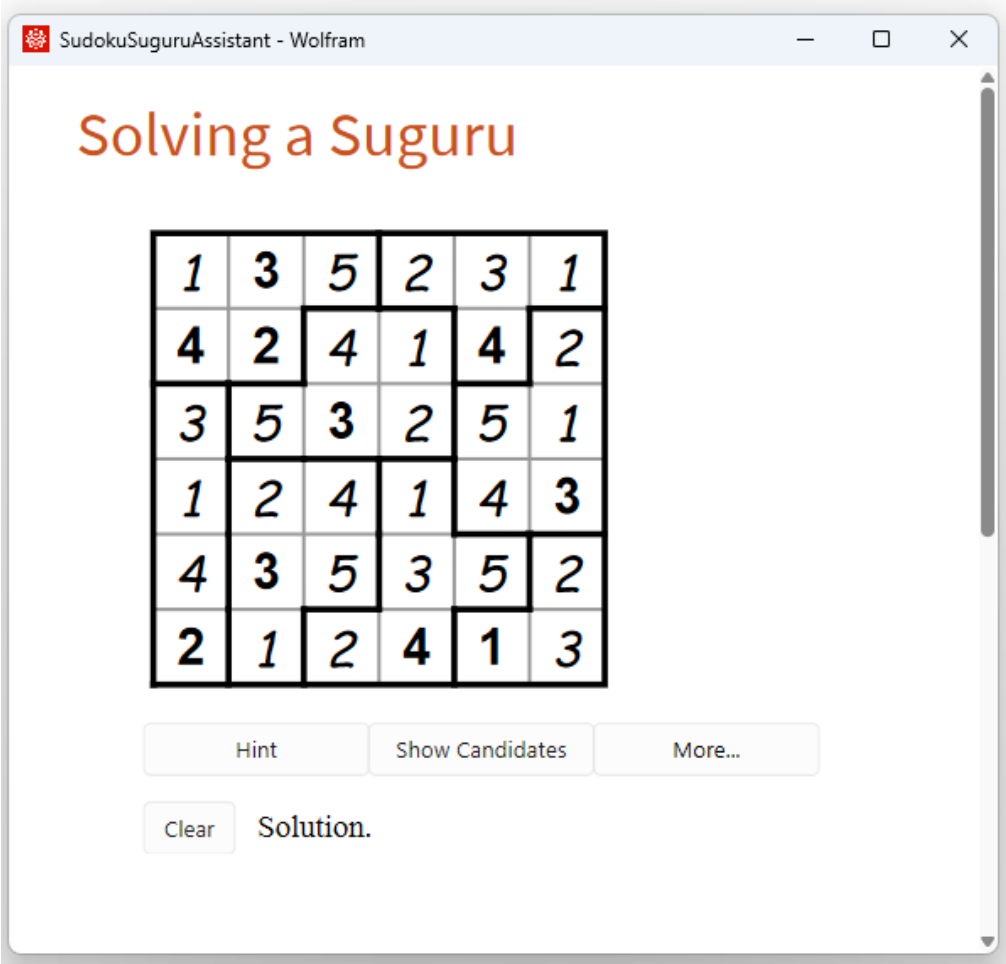
Or press More… and then Solution to inspect the solution:
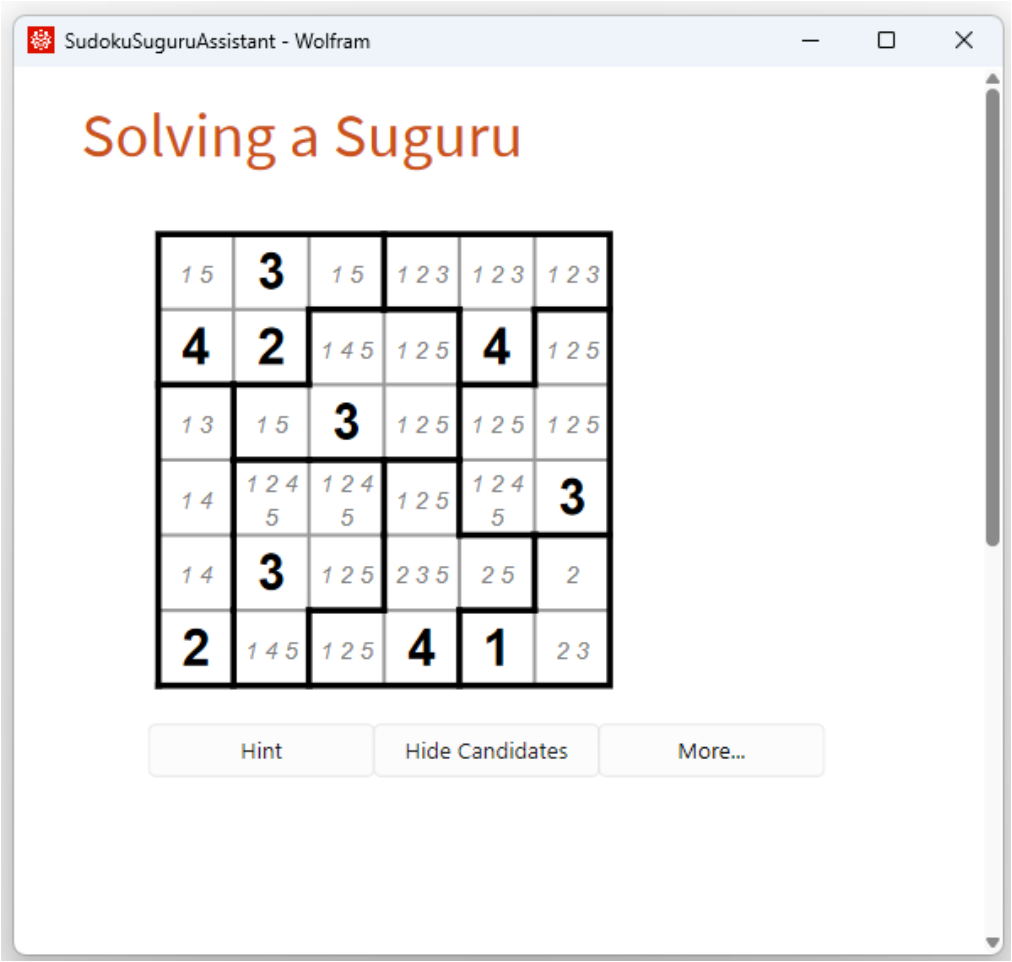
Press Clear to return to the solve screen and start solving. After placing some numbers and making some notes, we might arrive at something like:
The numbers that we placed are shown in italics. Moreover, we observe that in the third region, candidate 2 can be placed only in cells R2C4 and R3C4, so we enter that digit in these cells while holding down the left mouse button. The result is shown in a small handwriting-like font. Next, we observe that cell R3C5 cannot contain 2, 3, or 4, so the only candidates in that cell are 1 and 5. We enter 1 and 5 while holding down the left mouse button and then right-click on that cell to indicate to the assistant that these are the only candidates. The result is shown in the standard font.
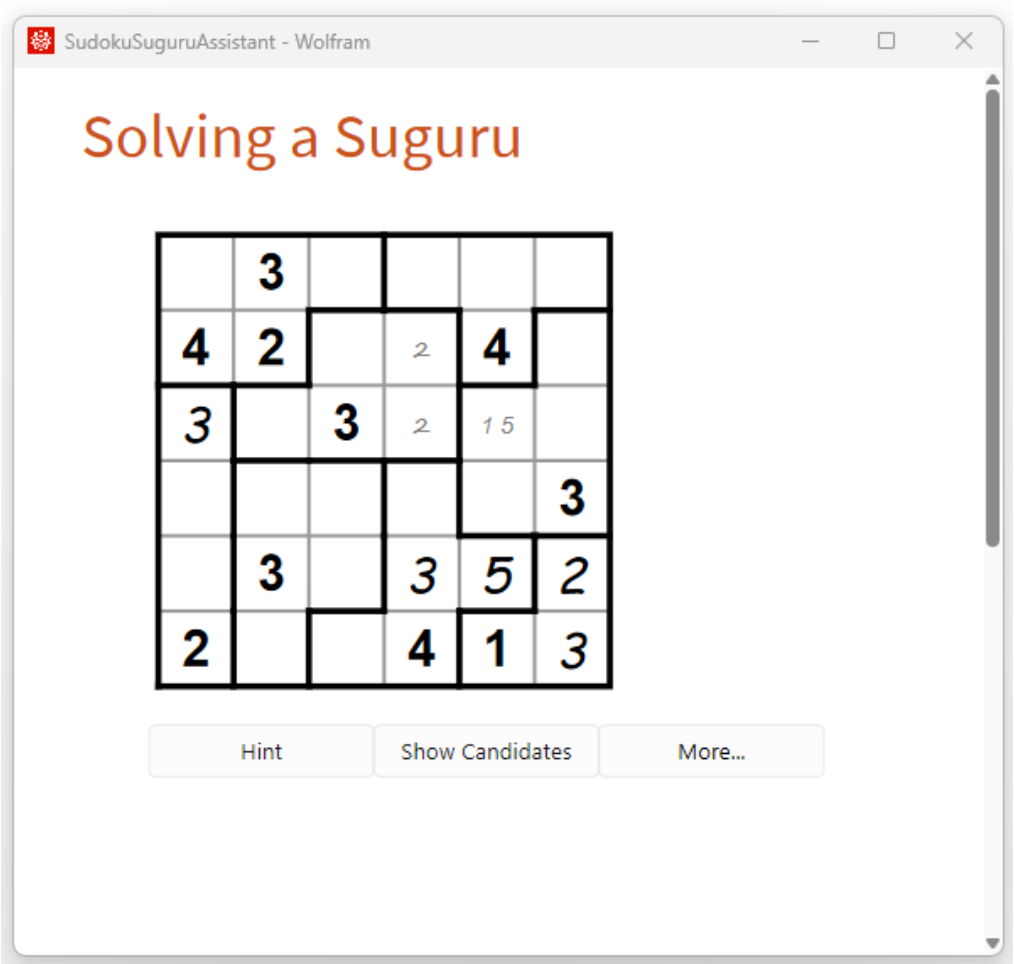
Continuing this way, after some time we might arrive at:

Pressing Hint suggests how we could proceed:
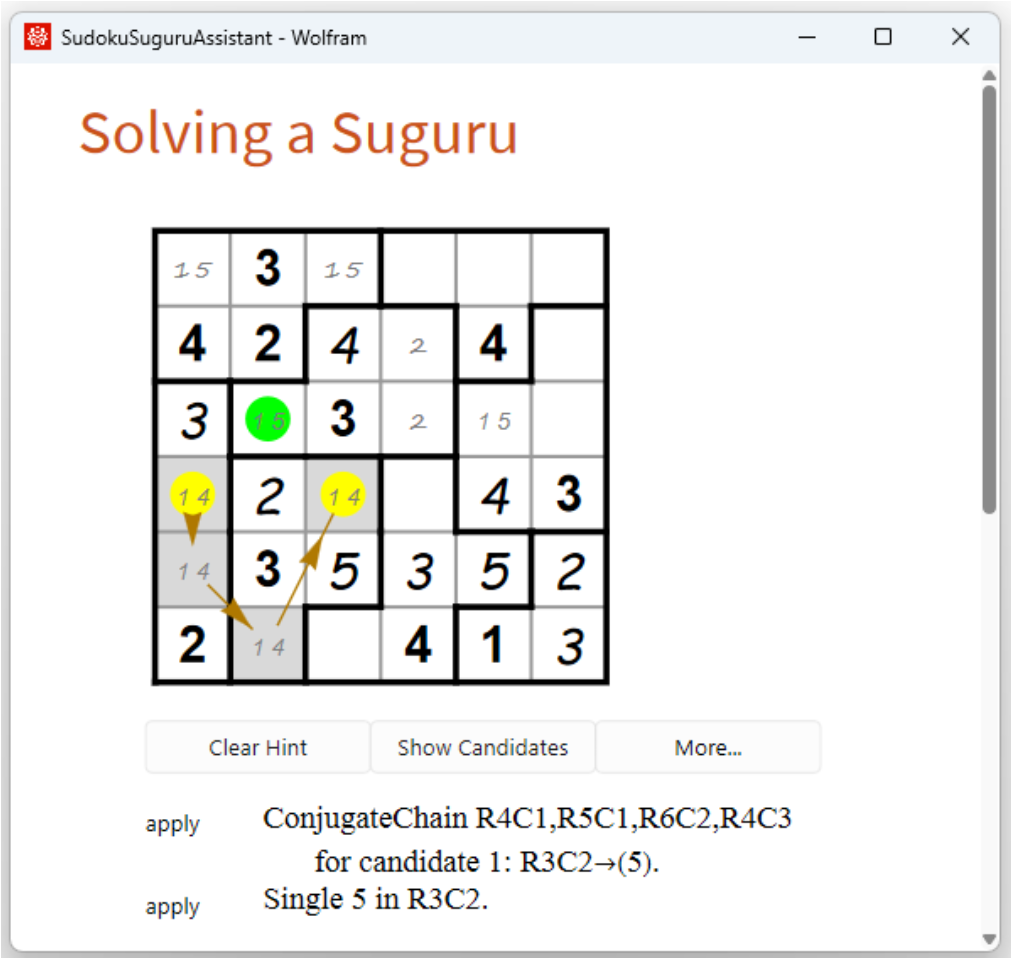
Here we also clicked ConjugateChain to display the color information. Look at the grey cells and follow the arrows. If 1 is not in R4C1, then it must be in R5C1, not in R6C2, and therefore in R4C3. Thus, candidate 1 must be placed in one of the yellow-marked cells and therefore cannot be placed in the green cell R3C2. Applying this reduction yields a single in cell R3C2, as indicated in the second line of the hint. Press Apply to continue solving.
This opens an interface for entering and solving a standard sudoku:
| In[2]:= |
Press Generate to create a random puzzle:
Press More…, string to generate a code string for the puzzle:

The string is copied to the clipboard. It can be used to reopen the puzzle:
| In[3]:= |
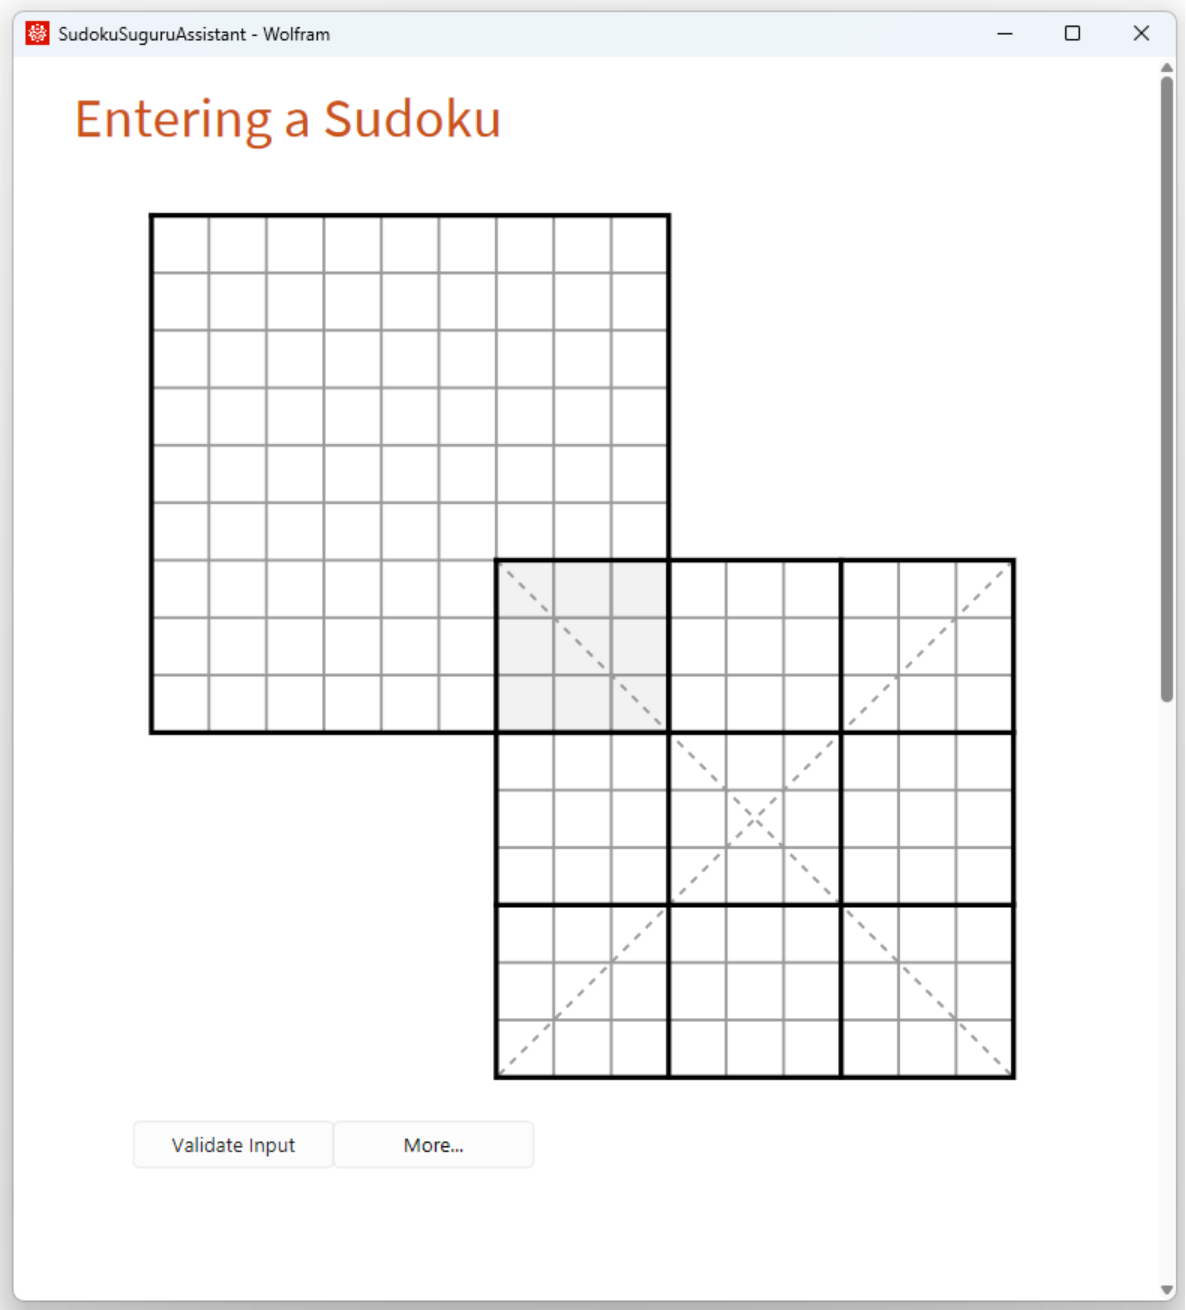
This opens the interface for entering and solving a multi-sudoku consisting of a jigsaw sudoku and a diagonal sudoku:
| In[4]:= |
Note that there is no Generate button. This is the result after entering a puzzle manually and selecting String from the More… menu:
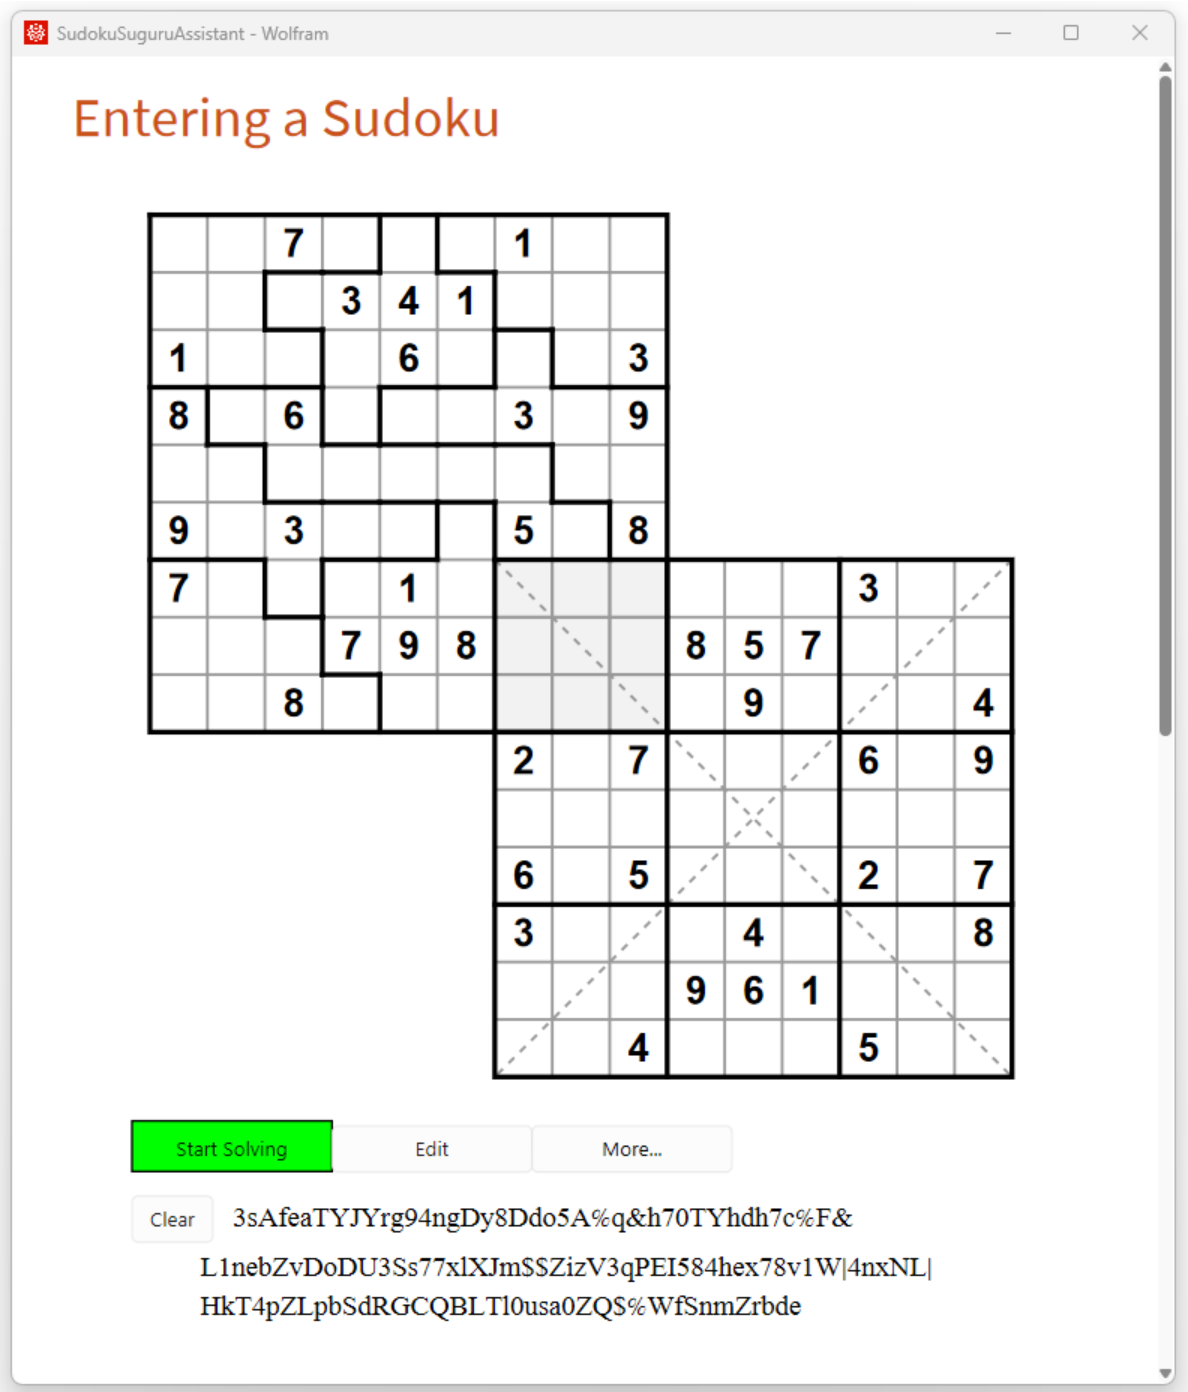
The string can be used to enter this puzzle directly:
| In[5]:= | ![ResourceFunction[
"SudokuSuguruAssistant"]["3sAfeaTYJYrg94ngDy8Ddo5A%q&h70TYhdh7c%F&L1nebZvDoDU3Ss77xlXJm$$ZizV3qPEI584hex78v1W|4nxNL|HkT4pZLpbSdRGCQBLTl0usa0ZQ$%WfSnmZrbde"]](https://www.wolframcloud.com/obj/resourcesystem/images/350/350720ca-f3c3-46ab-a892-86b1d4f7cf3e/4ba3db924937722f.png) |
Wolfram Language 13.0 (December 2021) or above
This work is licensed under a Creative Commons Attribution 4.0 International License