This tutorial assumes that you already have a GitHub account and are familiar with the basics of git. If not, the following links will be a useful starting place:
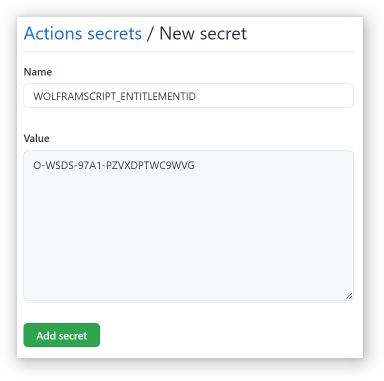
This environment variable corresponds to an on-demand license entitlement that allows the Wolfram Engine kernel to run in a GitHub hosted runner. To create an entitlement, use
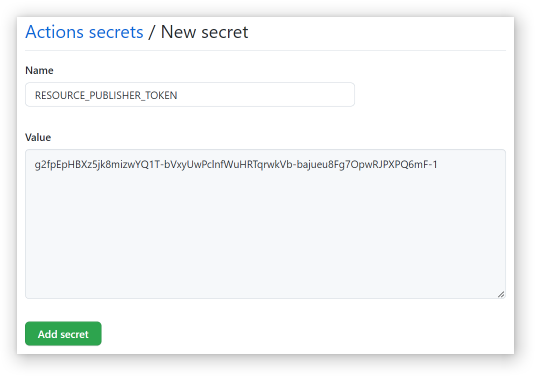
This environment variable corresponds to a token that's issued by the resource system that allows you to authenticate some requests without full cloud authentication. This avoids the need to store the more sensitive credentials that would be required for
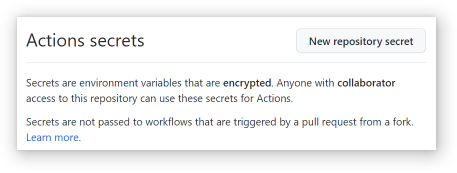
Click the "New repository secret" button at the top-right:
Use RESOURCE_PUBLISHER_TOKEN as the name, and paste in the token string as the value, then click the "Add secret" button:
Push Changes
Set the current directory to the location of your Git repository:
Stage the workflow file that was created earlier:
〉
In[2]:=
git add .github/workflows/Build.yml
Commit the changes:
〉
In[3]:=
git commit -m 'Added a build workflow'
Push the changes to GitHub:
〉
In[3]:=
git push
The workflow should now be running automatically. To see the current status, visit the following URL (replacing {user} and {repo} to match your repository):
https://github.com/{user}/{repo}/actions
Click on the currently running workflow to see its status:
When the workflow is complete, the built paclet will be available as a downloadable file on the summary page: